How to Make a Basic Mold with Silicone Plastique®
Step 1
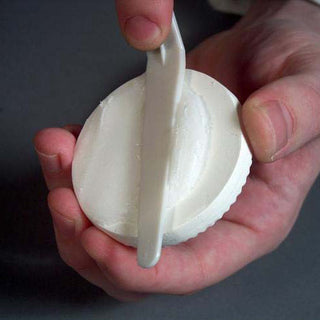
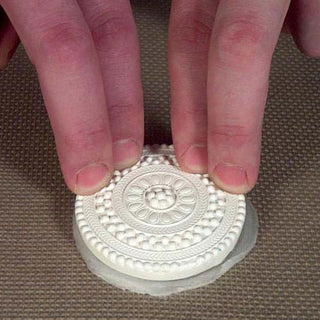
Before making a mold, the model to be duplicated should be mounted to your work surface. Apply a one-eighth inch film of Mold-Dit™ to the bottom of the model and press on to the work surface. Apply enough pressure so that Mold-Dit™ squeezes out the sides. Wipe the excess away with a towel or scraper. This creates an aggressive suction between model and work surface, sealing the bottom so silicone does not creep underneath your model.
Step 2
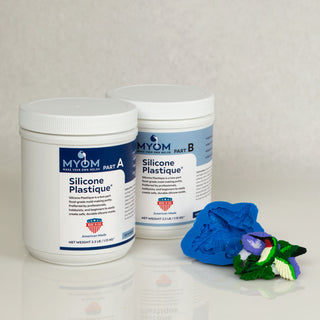
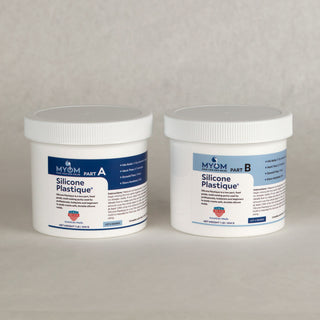
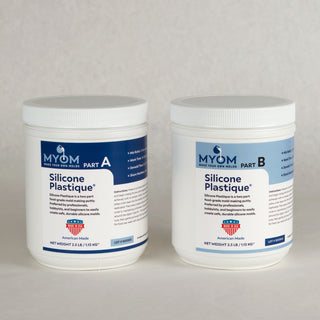
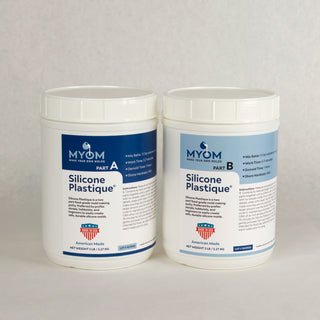
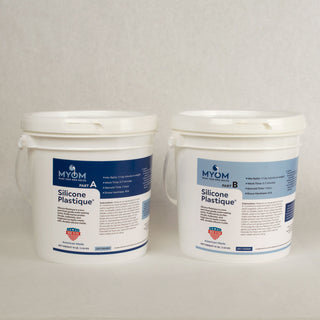
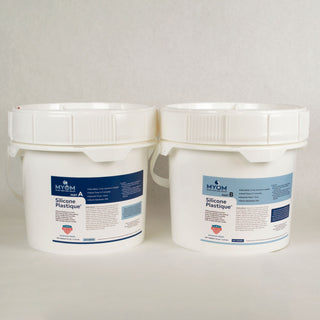
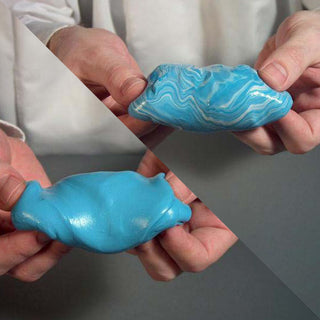
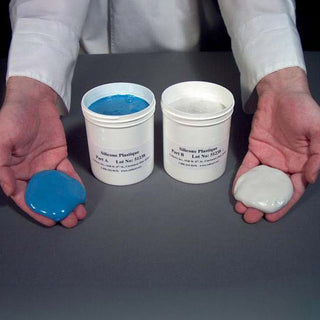
Silicone Plastique® has the consistency of clay. Equal amounts of Part A (White) and Part B (Blue) may be measured by weight or volume. Part A and B are combined and kneaded until a uniform color is achieved. Your Silicone Plastique® is now ready to use and should remain workable for 15-20 minutes. Note: You may refrigerate Silicone Plastique® before combining to extend work time.
Step 3
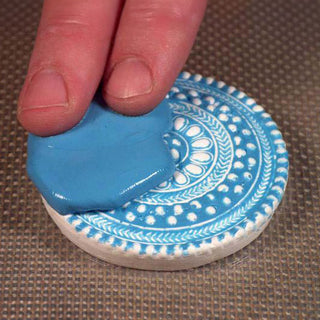
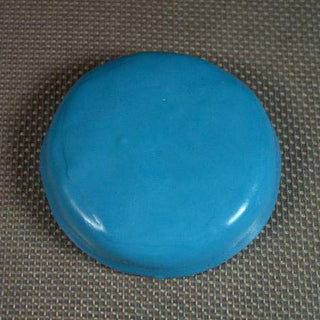
Rub a small amount of Silicone Plastique® directly into the details of your object, creating an initial layer. Apply a second layer, at least one quarter inch thick, completely covering the object surface. Note: To bond correctly, layers of Silicone Plastique® must be applied before the previous layer is fully cured.
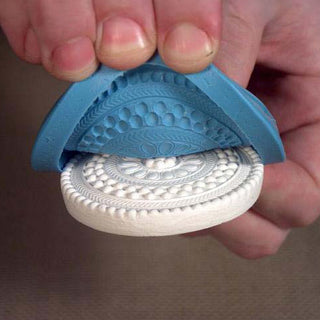
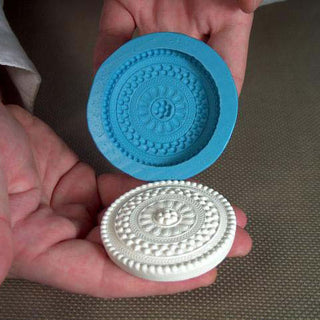
Step 4
Silicone Plastique® has a work-time of 15-20 minutes and a demold time of 60-75 minutes at room temperature. You can demold your object when the Silicone Plastique® no longer shows an indentation when pressed with the edge of a tool, fingernail, or coin.

