How to Make a Split Mold with CopyFlex®
How to make a split mold is a request that many of our customers have made through the years. This type of mold is very popular because a split mold offers many of the advantages found in a two part mold, yet it is easier to make and also takes less time. Take a moment to read this step by step tutorial and learn how you can make your own split mold and then benefit from its many advantages.
*Please note that this tutorial was originally made using an earlier version of our CopyFlex® material. The instructions are accurate, but any CopyFlex® you order will be our new, improved clear green formula, not the opaque orange you see in these photos.
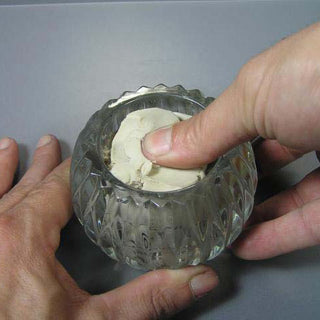
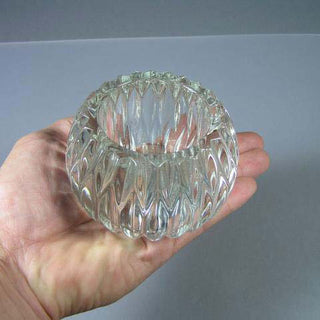
Step 1
Before a split mold can be made of this glass candle holder it must be filled with Safe-D-Clay™. Press softened Safe-D-Clay™ to fill the cavity flush with the top. Leaving candle holder empty and filled with air could interfere with the mold making procedure since an air filled object can float when covered with liquid silicone.
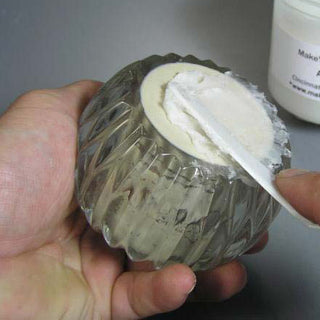
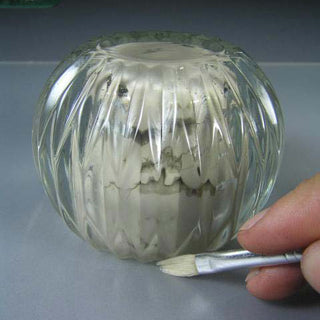
Step 2
Apply Mold-Dit™ about 1/16” thick to the filled side of candle holder and press this side down onto the work surface so that Mold-Dit™ squishes out along the bottom. Wipe the excess Mold-Dit™ away with a dry brush or soft cloth.
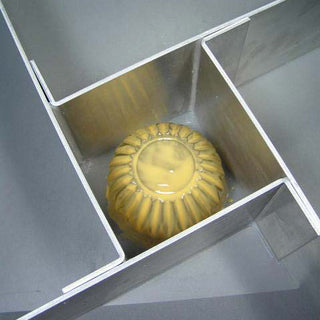
Step 3
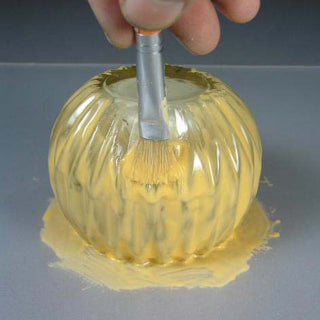
Mix a small amount of CopyFlex® and apply a “skim coat” with a natural bristle artist brush, working the CopyFlex® into all the details on the surface of the object to be molded. Assemble an Adjust-a-Mold Box around the skim coated object so that a minimum of ¼ inch clearance exists around all sides of the object.
Step 4
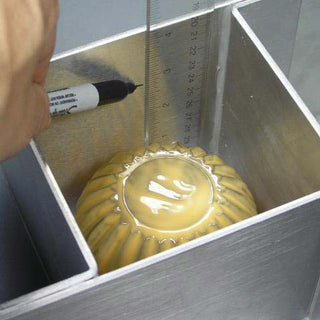
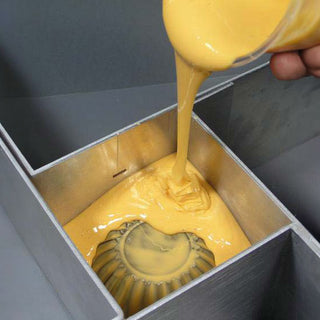
Mark a “fill to” line on the inside of the Adjust-a-Mold a minimum of ¼” above the highest point on the object being molded. Pour CopyFlex® to fill line.
Step 5
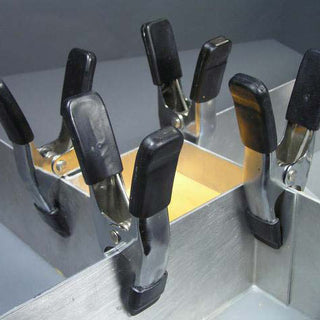
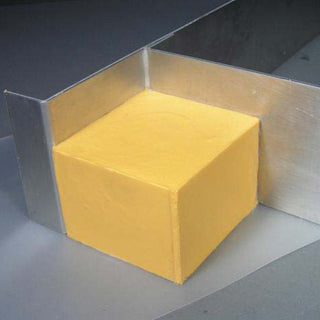
In order to show this procedure properly, the spring clamps were removed from the Adjust-a-Mold™ in the previous step so that more detail could be captured photographically. In this step, the Adjust-a-Mold™ is shown with the spring clamps attached.
Step 6
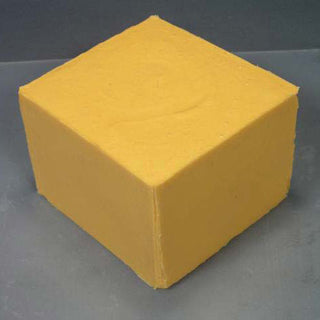
Once the CopyFlex® Liquid Silicone has cured, remove the Adjust-a-Mold™.
Step 7
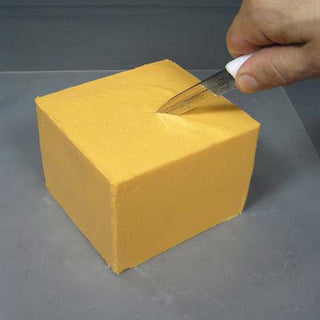
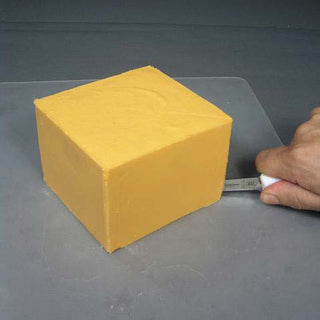
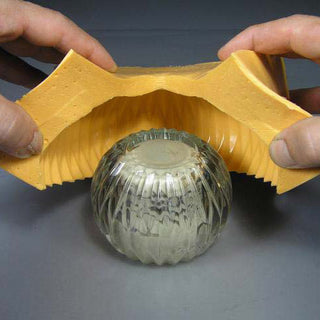
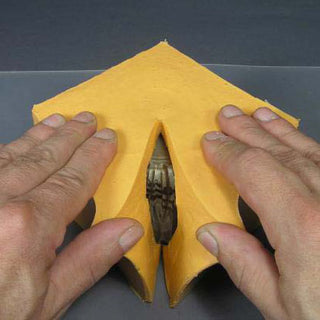
With a very sharp knife, pierce through the top of the rubber mold until the blade makes contact with the object inside. With blade maintaining constant contact with object, cut across top and down corner of CopyFlex® mold to create a slit down one side of the mold.
Step 8
Open mold along the slit to free the object inside.
Step 9
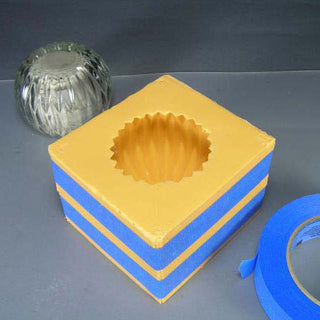
Wash and dry the split mold thoroughly. Use masking tape to secure the mold and keep it closed while in use. CopyFlex® Liquid Silicone cures with memory which means that it will retain the shape it was cured. Masking tape helps keep the mold closed along the slit when in use.

